Growing Jerusalem artichokes
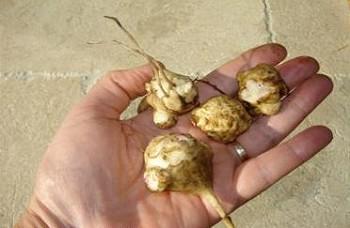
We started four plants from tubers in March 2008 and harvested 22 pounds of delicious sunchokes on October 28. We found this plant to be very easy and worry-free to grow, and had absolutely no pest or disease problems arise. Although we grew our plants in zone 17, they should work equally well in all of the climate zones in the Bay Area.
Planting & transplanting
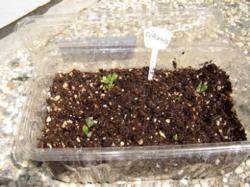
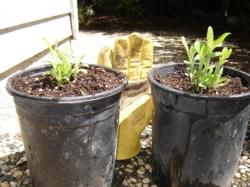
On April 12, about a week after they sprouted, they were big enough to transplant to individual pots. We used the same type of commercial potting soil as before.
Almost two weeks later, on April 22, we moved them to the Demonstration Garden at Elkus Ranch. We chose to grow our sunchokes in containers because they can be hard to eliminate from a bed or plot once they have produced new tubers. Any small or even partial tuber left in the ground will likely sprout again in spring.
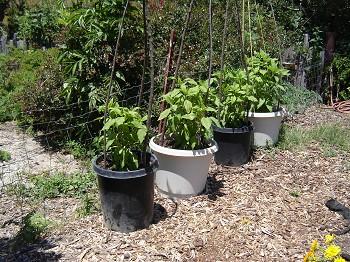
- 50% clay garden soil from the garden site
- 25% sifted homemade compost
- 25% pretty fresh sheep/straw compost from the ranch
This was a well-draining and high-nutrient soil mix for our sunchokes. We planned on adding zero fertilizer to the soil after planting all the way to harvest. Any well-draining soil (such as commercial potting soil) mixed with reasonable amounts of slow-release nitrogen amendment (such as compost) should do equally well. We created tepee staking to give the sunchokes a little stability and we hand-watered them deeply once a week.
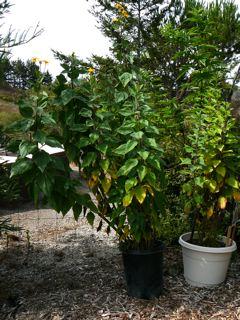
We kept up our once-a-week watering until harvest day. The plants grew quickly, eventually reaching a total height of about 6’. They produced small sunflower-type blooms at the top of the plants – an attractive bonus in the veggie garden.
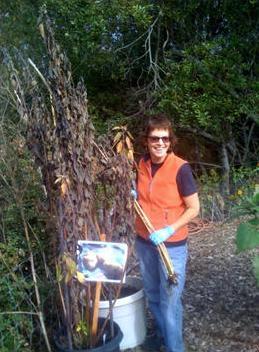
We waited until the leaves of the plants had withered and turned brown before harvesting to ensure the sweetest and ripest tubers; this was October 28.
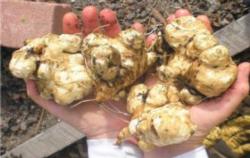
The plants produced varying amounts and sizes of tubers, but our four plants produced a total of 22 lbs of root vegetable - an average of over 5 lbs per plant.
Cooking with Jerusalem artichokes
Sunchokes can be prepared in a variety of ways. They are very knobby and so can be difficult to peel. We had success both soaking them in water and scrubbing off all the dirt, and also just peeling them with a vegetable peeler.
Master Gardeners have had success growing sunchokes on the coast as well as in warmer, inland gardens, and we encourage you to try your hand at growing this unusual root that will be a stunning addition to your vegetable garden.
